

Woofta, where do I even begin on this project? This was so easy, and I definitely should of done it a long time ago. About a year ago my best friend's co-worker gave us this dresser for free. We definitely needed an extra dresser, and I hate the thought of spending hundreds of $$$ on something new. This dresser had the shape I wanted and I knew I could always paint it to a different color. At the time we lived in a town home that had no room for even the smallest home project, so thankfully we now own our home with a garage! We've only lived here for 2 weeks and I'm already getting on the long awaiting projects, like this one! Enough of the blabbing I know, lets hop into it.


This is what the dresser started out like. Old, drabby, ummm smelly? Ha, it wasn't in terrible condition but definitely needed a little "makeover". Thankfully it fell into the right hands ready for the challenge.
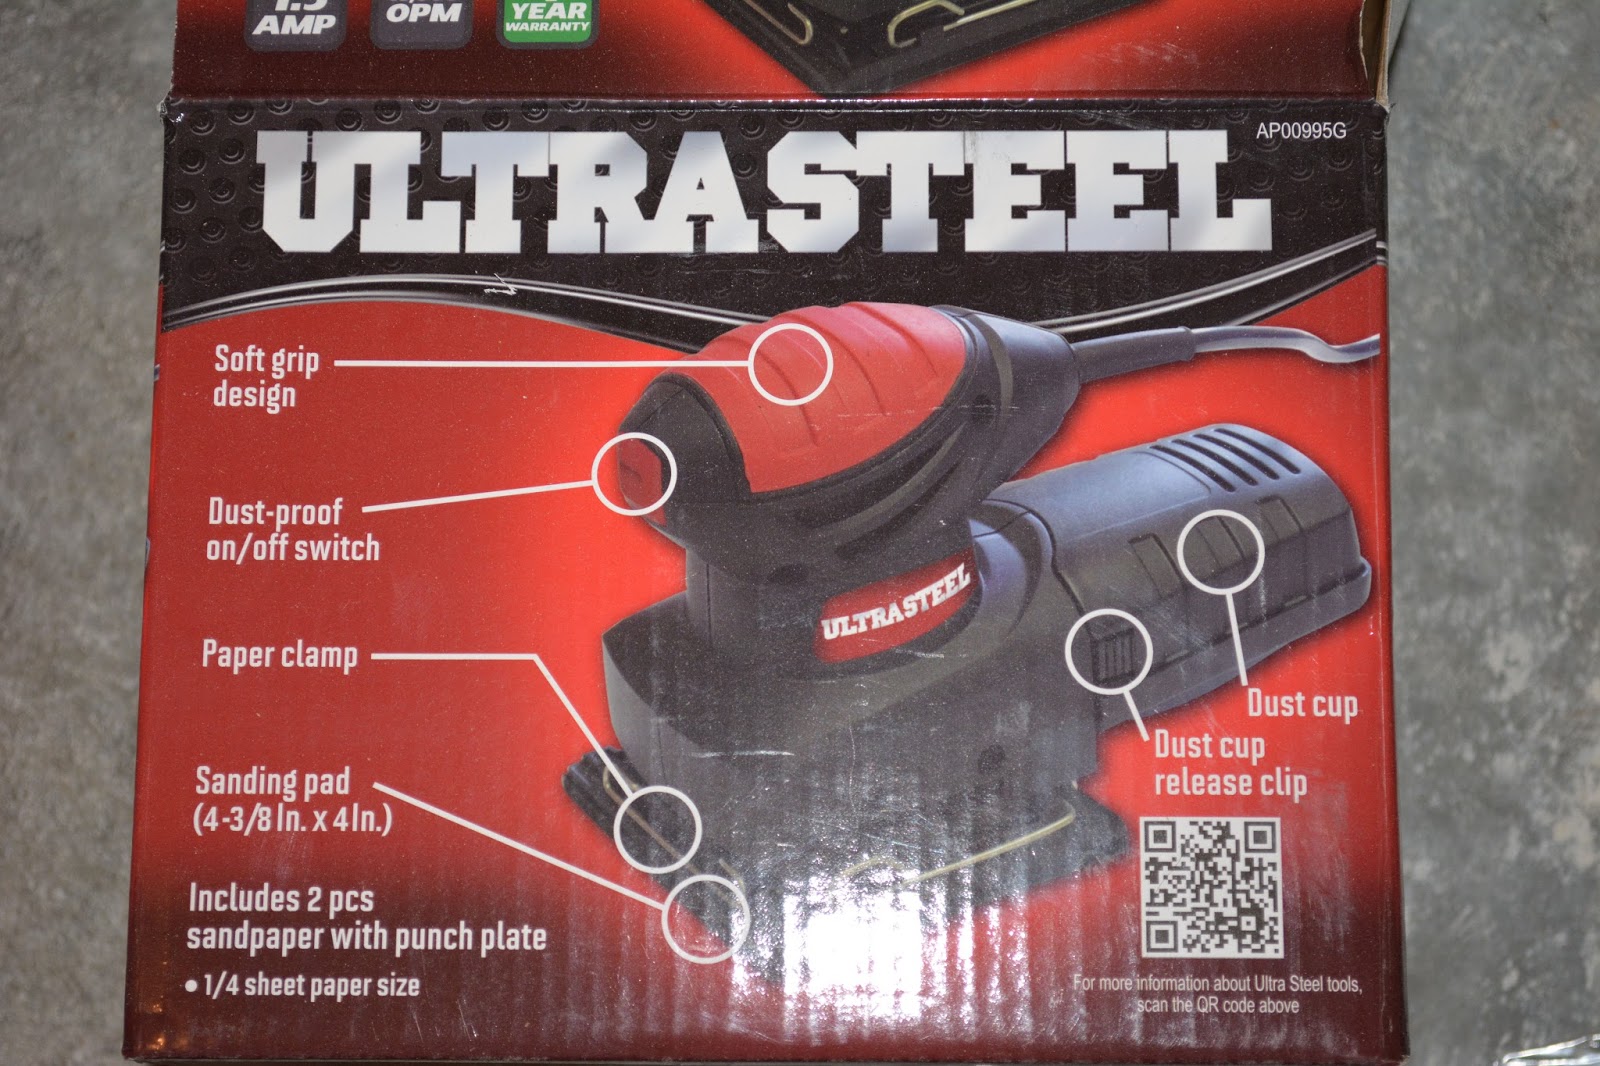
Bought this little gem at Walmart for $19.99. I started off sanding by hand and let me tell ya, I highly recommend a palm sander over doing it by hand! It was taking me forever to get the shiny top coat off so at 2 am I headed off to good ol' Wally World. I used whatever sand paper it came with and sanded it down till there was no more "shininess" haha. Wiped it down with a damp cloth to remove the access dust and shadings.

This was bought at Home Depot, it's Behr Brand and it's called Stain-Blocking Primer & Sealer. I believe it was about $7 dollars.

little painting kit I bought at Walmart for $4.99 I believe.


I then used the Primer (pictured above) all over the surfaces that I just sanded down. I only sanded down the areas that would be seen. I started with the first coat, let it dry for about 45 min. Then continued the 2nd and 3rd coat the same way. You don't have to necessarily do three coats, but I wanted to make sure the paint had something to stick to just to be safe.


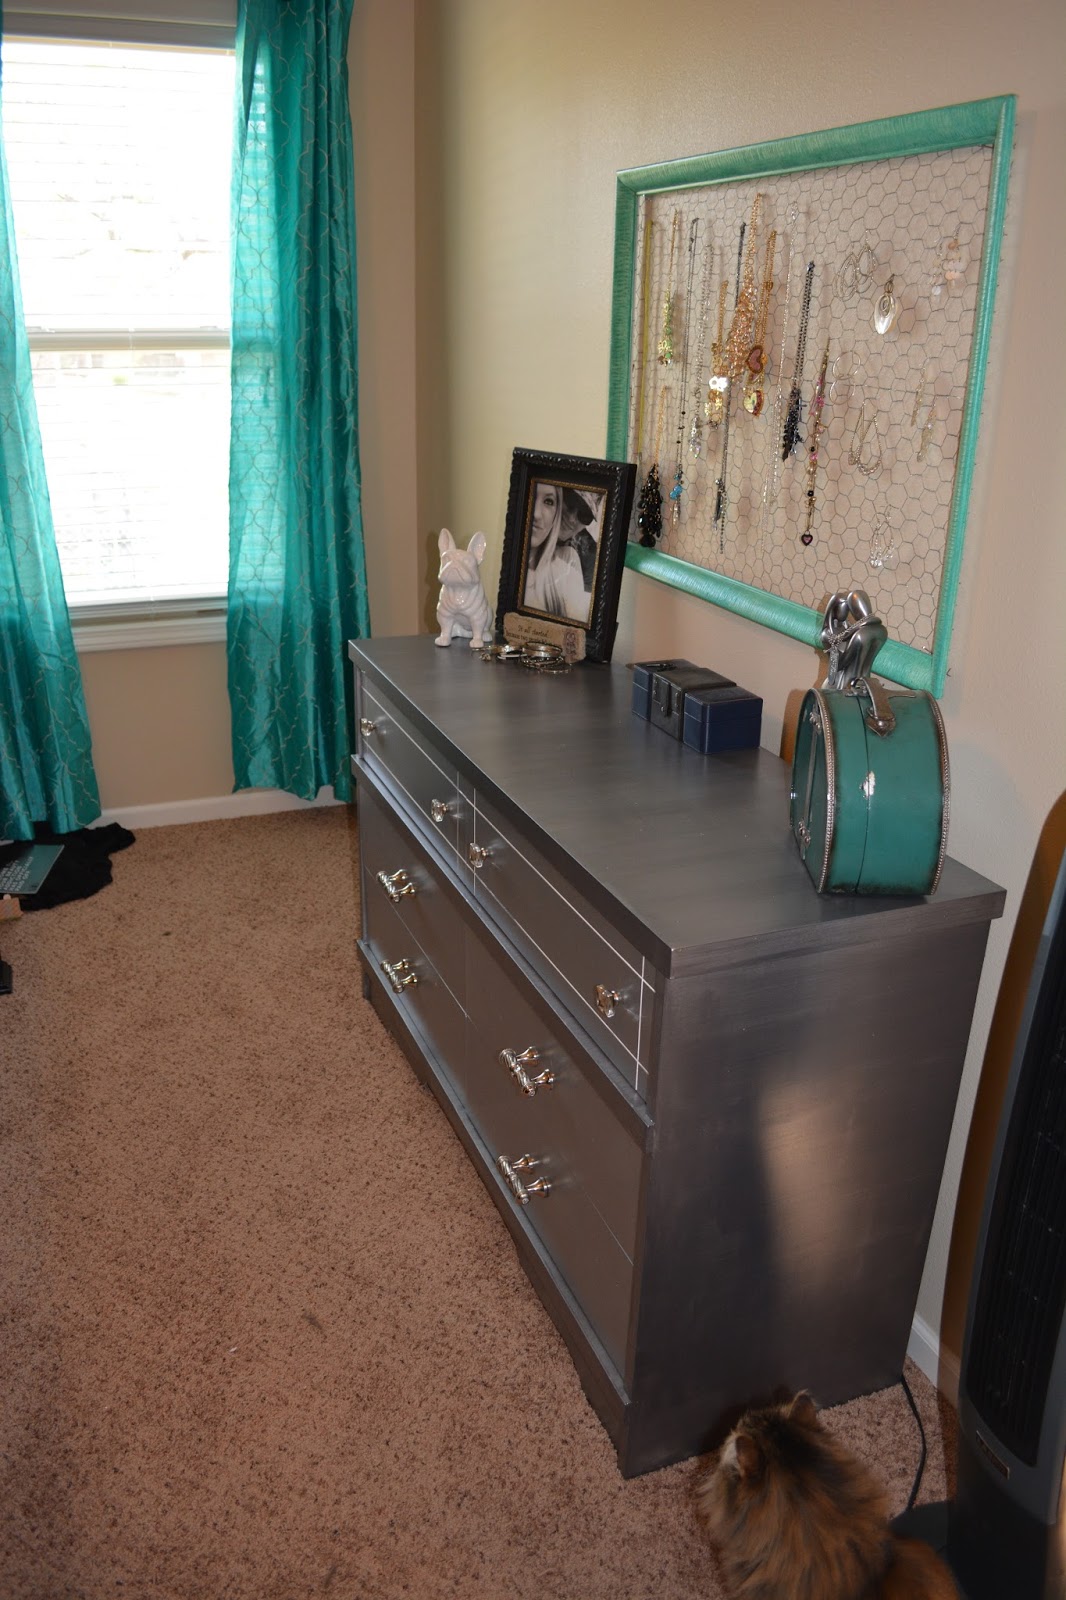
My favorite part! This beautiful Metallic paint came from Martha Stewart at Home Depot. I can't explain to you how ahhhhmazing this stuff is, but it is just spectacular. These little 10 oz jars are $4.98. Yes... that cheap, and it is so pigmented. The shades I got are Polished Silver (painted on the drawers), and Thunderbolt (painted on outside of the dresser, and middle pieces in the front). I actually started with the Polished Silver all over everything, and then wanted to add some darkness so I grabbed the Thunderbolt and added that at the end.


These are pictures with one coat of the Polished Silver. Like I said it was very pigmented and opaque. But it was almost too light in color for me. I love dark colors, specially black. So the Thunderbolt color was staring me in the face and I decided to do a final two coats of that on top of the 3 coats of Polished Silver that I did. Again, you don't need to do that many coats but I just preferred a thick even coat. I also used a mixture of painting techniques. I first used a rolling brush for the first coat. 2nd and 3rd coat I used a foam sponge for a more "stainless steel look". Everything is optional and up to your own style and taste :).

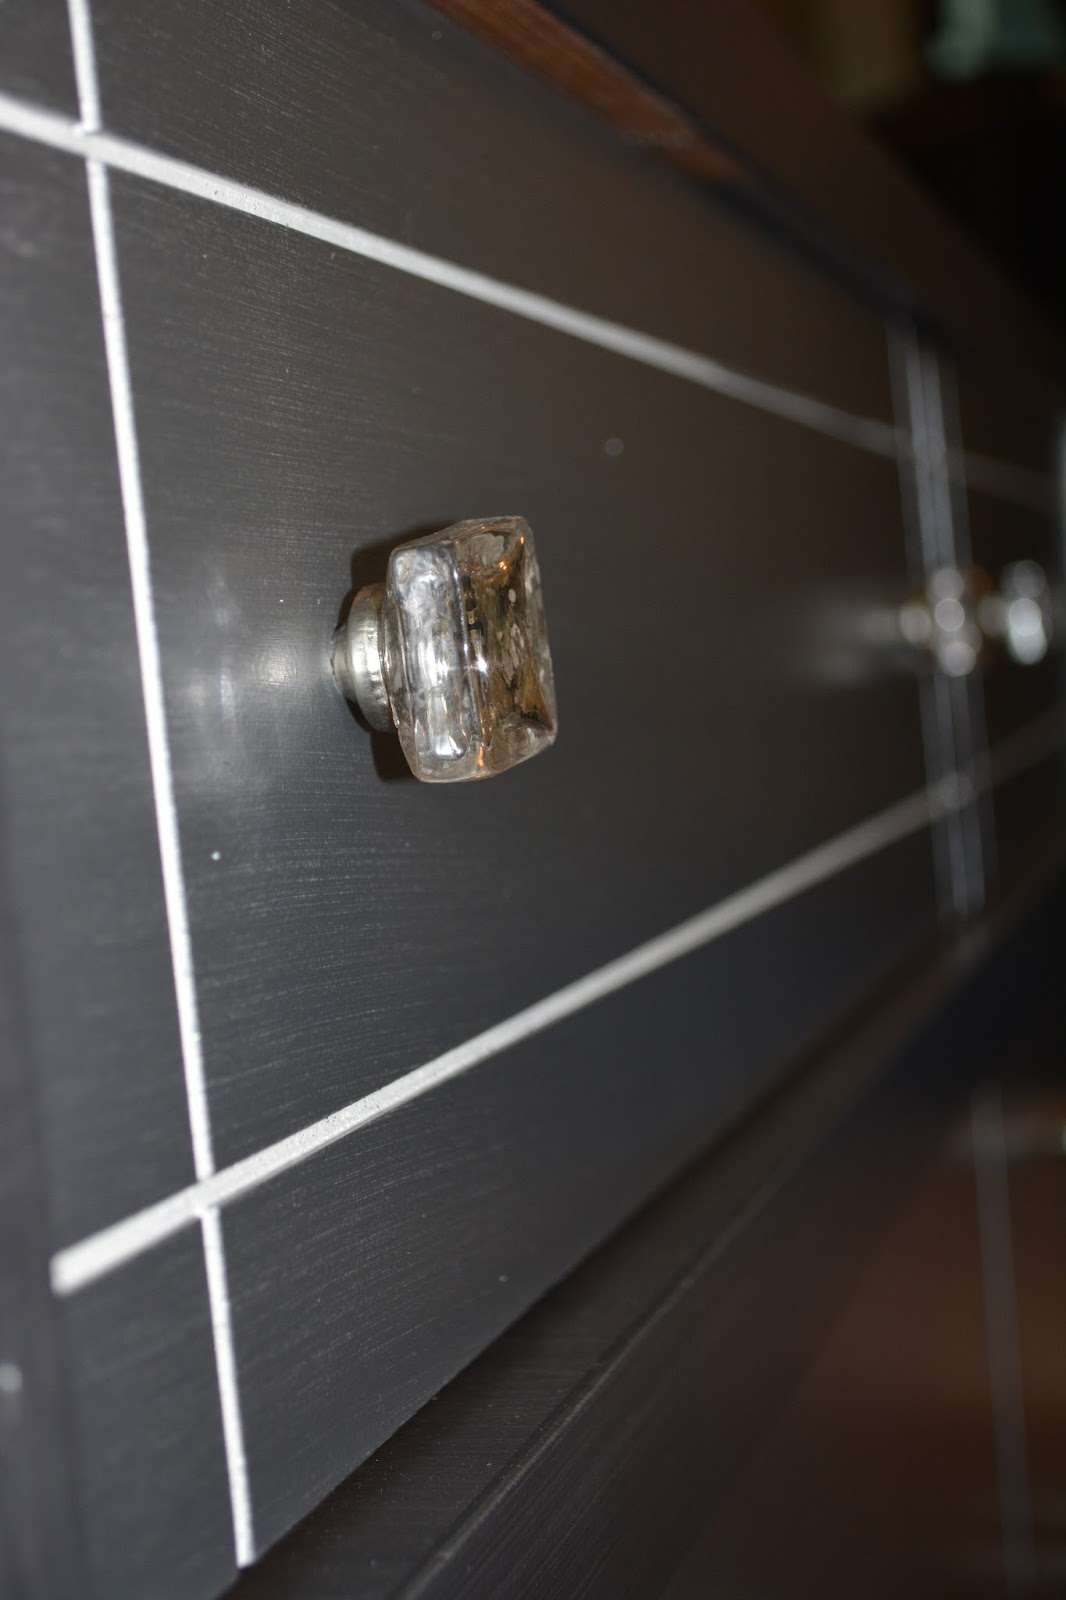

I could have salvaged the old hardware on the dresser but knowing me and my taste, I wanted new and exciting. Shiny should be my middle name, seriously. So knowing me, I love Hobby Lobby. I could literally spend hours in there. Well, this week was definitely the week for me there because knobs we're 50% off!! So I grabbed 4 smaller knobs for the top two drawers (originally $4.99 but were $2.99 each) and then grabbed 4 bottom drawer pulls (originally $6.99 but were $3.99). So yes, they weren't exactly cheap cheap, but to me they were a steal. I'm probably the queen of bargain shopping... NEVER SPEND FULL PRICE, unless you have to of course. They didn't fit perfectly so I had to drill new holes for the pulls, and snip the extra long screws to size.


And BOOM, it's done. Took me about 2-3 days from start to finish. Super easy and almost relaxing. Now I know why guys like to hang out in the garage. It's quiet and peaceful. Just you and your project! Dressers and other items are easy to come by. This is the season to grab future DIY projects since it's spring cleaning. Garage sales, and estate sales are where it's at! I highly encourage people to re-use anything they have or find. It's way cheaper and super thrilling to know you created it. For any questions or comments please post below and I'll reply as soon as I can! I hope everyone has an amazing spring, and can't wait to see all the projects added to the social-sphere lol.
Until the next project, thanks for stopping by.

PS. To anyone wanting to know, I also made the jewelry holder sitting above the dresser. If anyone would like to know how I made one, I was thinking of making another for a friend. So If anyone would like to see how I did it, I'll post a blog on a How-To :)
No comments:
Post a Comment