
DIY Dresser to TV Stand
....and some other projects :)

Over the past few weekends I've been searching for new projects, not only for my blog but for....well our home. I wanted a new entertainment stand, one that would be almost "custom made" to our taste and needs. This is the perfect way to do so! Not only did we get a great tv stand, but I also managed to find a sofa table, coffee table, and side table to re-do as well.
If you have ever seen DIY projects on Pinterest or YouTube and thought to yourself, "man that's a great idea, I should do something like that".... You're right, and you should! I'm telling you, all 4 of the projects you're about to see I finished in ONE weekend. That's right... ONE weekend. It's possible to add a new feature to your home that you created by yourself (or with help). So what are you waiting for? Hit up your local craigslist, or better yet GARAGE SALES! I even head over to the local thrift stores as well. If you can imagine it, you can do it.
Now, lets see here. I purchased all the items posted below in one day. The dresser I found at a local "antique mall" for $120, steep price? Yes, but it's real maple wood and sturdy as all get out. I'll pay the $120 before I ever buy something out of a box again. The sofa table, coffee table, and side table I bought all together for $70 off of an app called Varage Sales. It's linked up with Facebook I believe, pretty cool website.
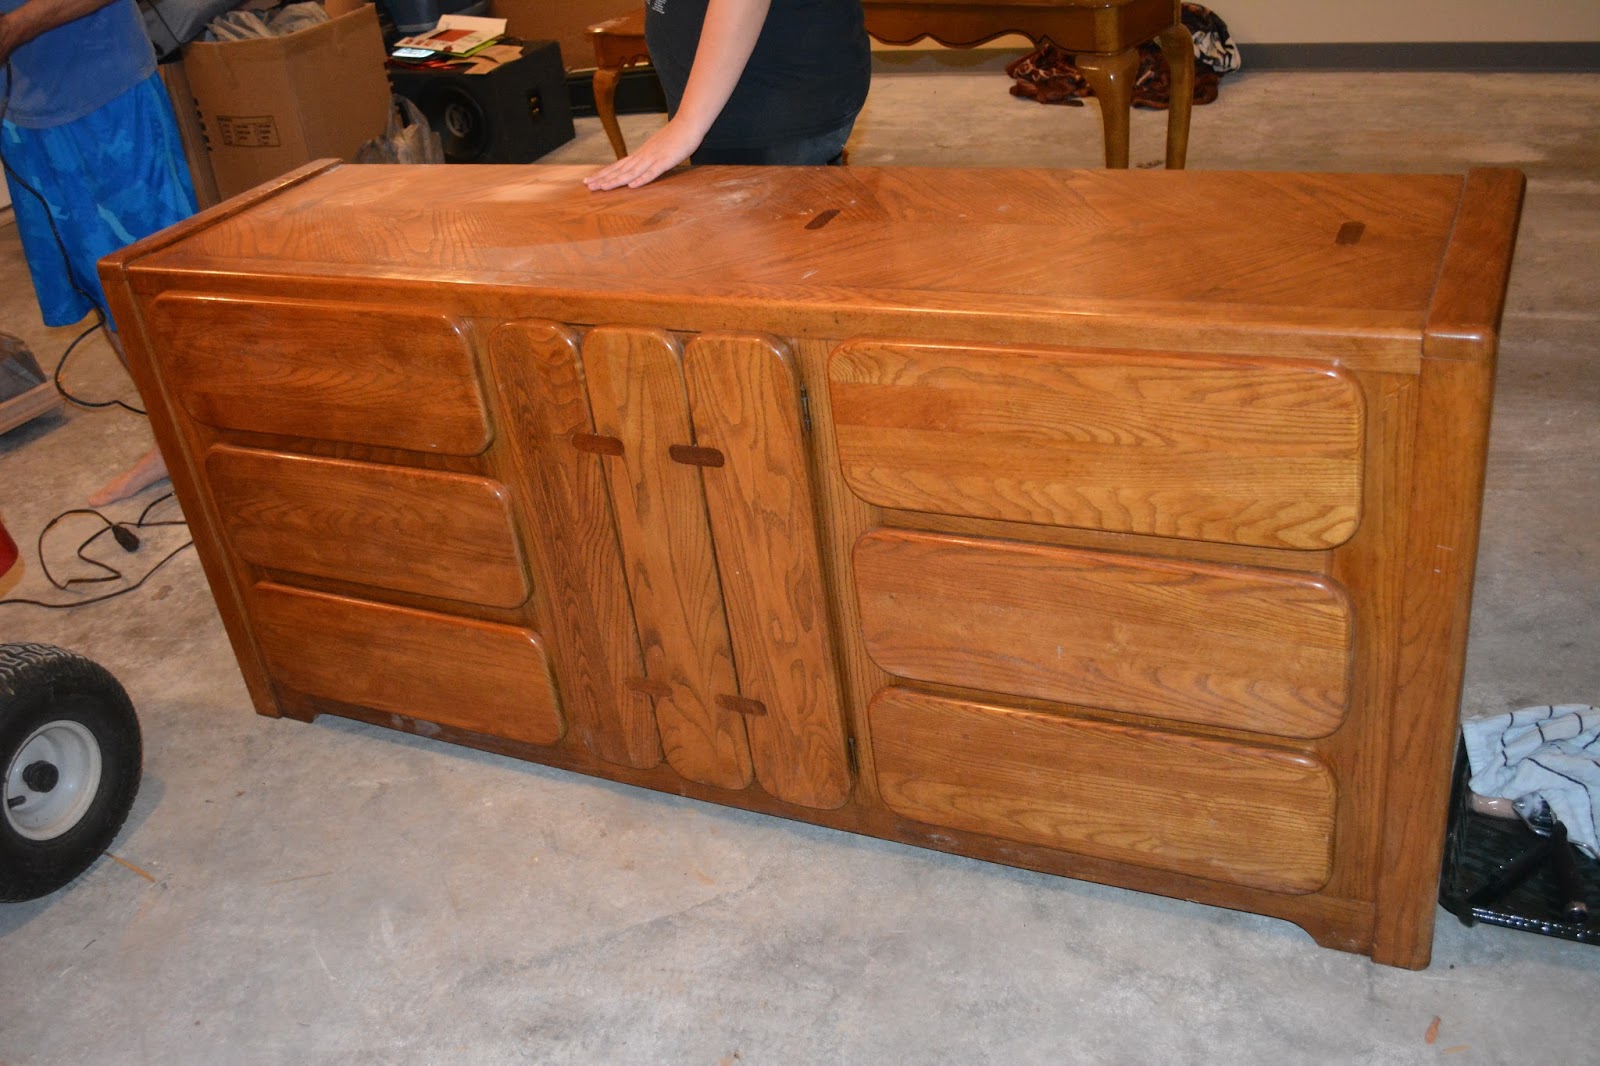
Dresser :


Sofa Table and Side Table

Coffee Table


Side Table

My sister-in-law also moved back from college (so proud of her), and she wanted to re-do a FREE dresser she snagged from one of our close friends. So we helped her learn the ropes on how to DIY things and get crafty... :)
So first we had to do our most favorite part (not!), sanding all the furniture down until the top shiny coat was gone. We used palm sanders and a 80 grit sandpaper for all surfaces. Messy... messy... messy! Thankfully I have a garage now to do all these projects. I highly suggest you do this in an open area, even outside on a sunny day would be best!

Husband, getting it started on Shae's dresser. :)
And Miss Shae herself. Isn't she cute? lol.


Next was priming. We did about two-three coats on all surfaces that were going to be painted. Unfortunately, I did not get a picture of this since there was soo much to do already. But this is the Primer we used (Valspar Bare Wood Primer) bought at Lowes for around $8 I believe.

While the primer was drying I previously took off all the hardware and wanted to vamp it up. You can't find stuff like this anymore and I wanted to keep it with the design of the dresser. So I snagged some Rust-Oleum Metallic Spray Paint, and Rust-Oleum Universal Metallic Spray Paint. 2 Coats of the Metallic Universal Spray, and one coat of the regular shiny Metallic Spray. I also had help from one of my best friends, Cassidy who sprayed these bad boys down while I painted :). She was a big help since this was a big project. I love the way the handles came out!

After priming, it was time for paint. I had chosen the brightest WHITE you could find at Lowes. The associate there told me that I should pick the brightest one or else it would've looked off white against my tan walls. Didn't want that, I wanted them to pop by themselves. We did about 3-4 coats of this paint.... Valspar's Ultra Paint & Primer in "Ultra White" with a Satin Finish. This was about $14

After everything was dry I put the hardware back in, and with this "sample" size jar of Valspar paint I added a pop of color to the top inside of the dresser. I'm a huge fan of aqua, teal, turquoise, tiffany blue blah blah you get the drift. It's my favorite, and I wanted to incorporate it into this project.


You can barely see it, but in the trim of the sofa table, coffee table, and side table, I added that aqua color into it to give it a little something and help it match the TV Stand/dresser.

Now for the most time consuming part of this whole project.... the stencil, and PAINTING the stencil lol. Oh wow, it was work I tell ya. I made this stencil off of adobe photoshop, printed it out and cut it out onto a blank stencil sheet I bought at hobby lobby ($1.99). This was a pain, then traced in pencil onto the top of the sofa table. And then Cassidy and I hand painted and filled in between the lines. Took us about 3 hours I'd say. Worth it? YES. It came out great. Cassidy almost killed me, but lol yes it was worth it.


My husband and I are gamers. We like to play video games, and such. We're not those people that stay up weeks on end and play games, but we do like to sit down and get our game on. So with that said, my husband has every game consoles which takes up a lot of room. Not to mention all the wires you normally see. With that in mind, I made holes in the back of the dresser for the wires and holes in the dresser drawers so things could be "hidden". Our Direct TV box doesn't need to be out in order for us to get a connection with our remotes, so I made a home specifically for them.... you're welcome Direct TV (pricey bastards). Anyways.... so yes. It's very convenient to have homes for everything, including the charging docks for the game controllers.


And here's the finished project........


As always, thank you for stopping by and checking out my blog. I hope you enjoyed these weekend projects. Not only that, but I hope I inspired some of you to get out there and create something of your own! I LOVE diy's and specially making something beautiful again with my own twist. Please don't hesitate to ask questions or leave a comment below! I check my emails, and blog every day and I'm always here to help.
Until next project....

That looks wonderful! You are so crafty! You make it look easy. I have some chairs to re upholstery if you want to use it for your blog! Hehe!
ReplyDeleteThank you so much Julie :)! I haven't done anything like that yet as far as re-upholstery goes, but I'll keep my eye out for any ideas for ya!
DeleteLike the way these turned out! Getting ready to redo a dresser & came to you for the complete how-to. Thanks for the details & the inspiration!
ReplyDeleteThanks for checking it out Dana! If you need help, let me know :)
ReplyDeleteWhat a great job you did on these projects!
ReplyDeleteI bought a dresser off of craigslist that is very much like yours, but not solid wood. I'm giving it a makeover from the inside out, for our TV Media Console.
Thanks for your inspiration!